Depulso Puzzle Rooms 1 & 2: Location, Solution & More
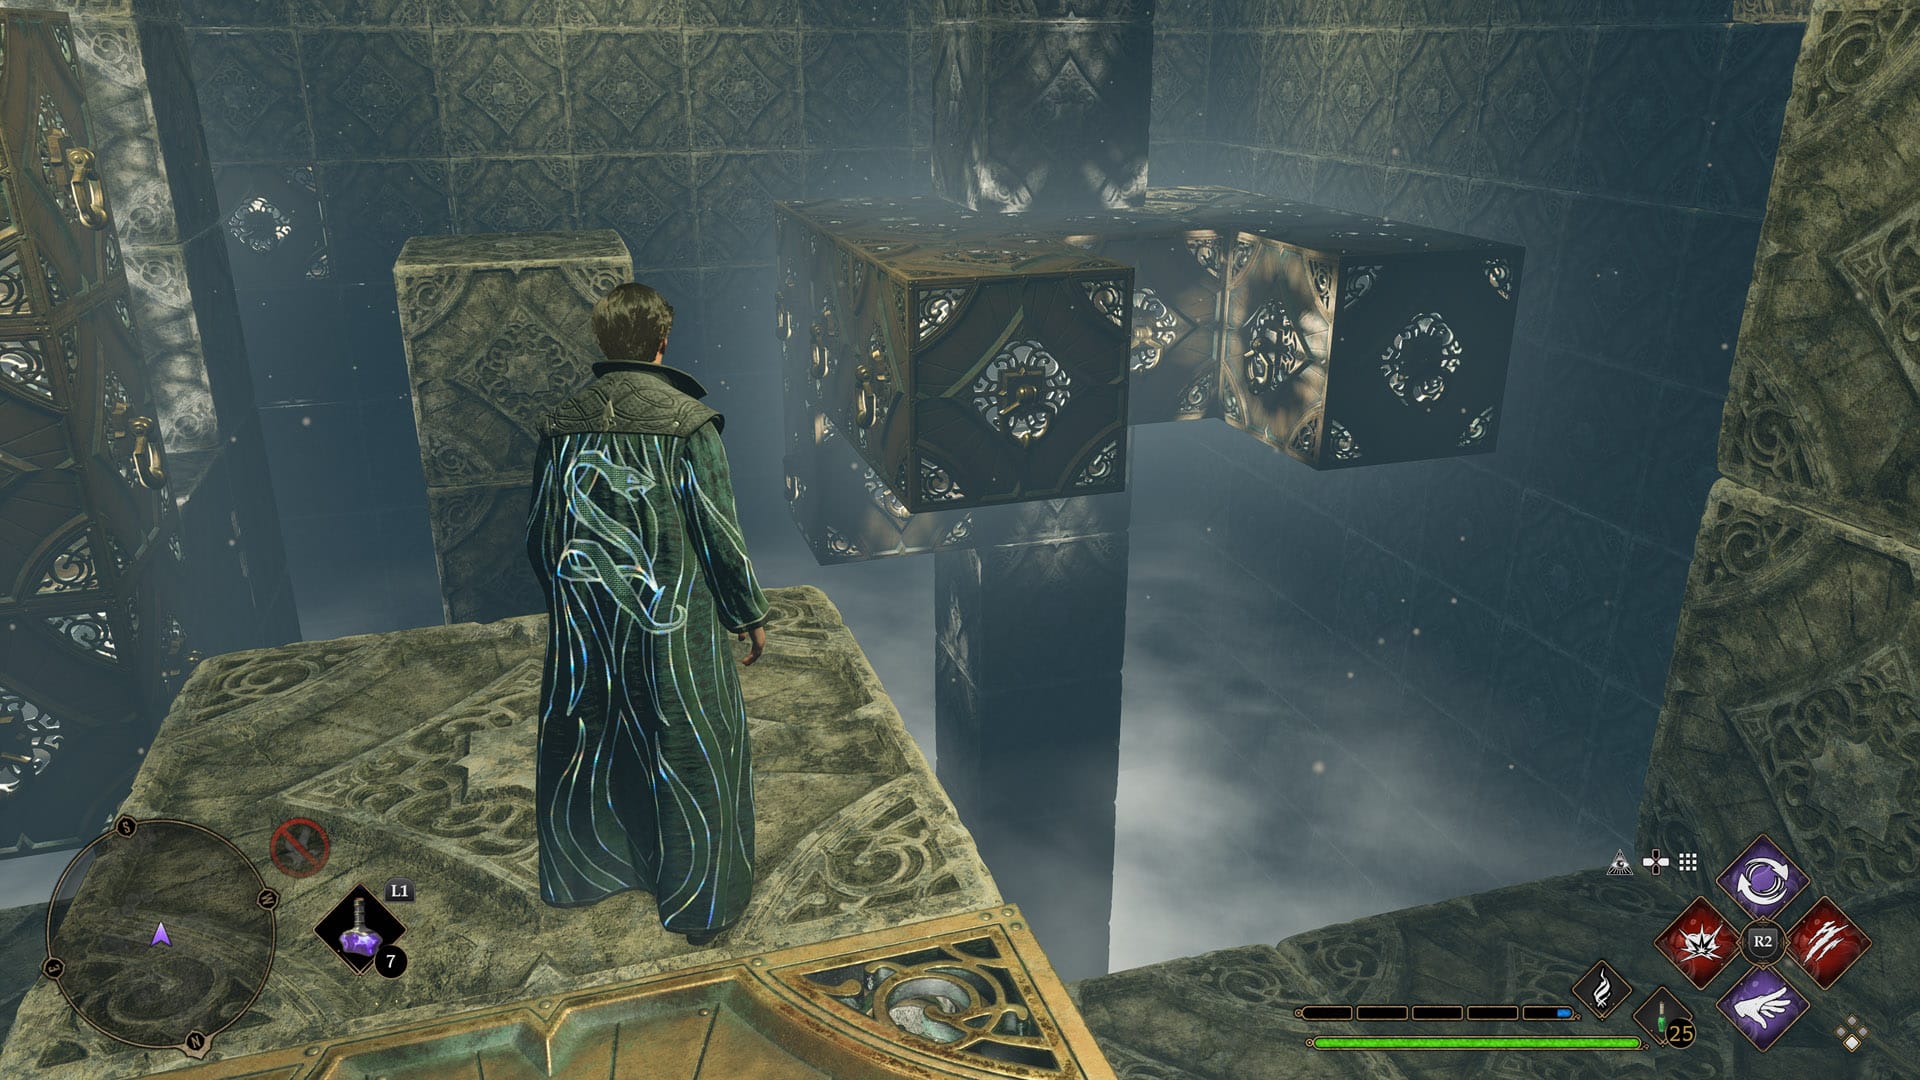
Depulso Puzzle Rooms 1 & 2 – Hogwarts Legac Witchcraft and Wizardry, the main character will be granted the freedom to examine the realm and unveil the hidden truths that are scattered throughout.
Few secrets within Hogwarts Legacy will remain hidden until specific tasks are fulfilled. To access the Depulso Puzzle Rooms, one must initially progress in the main storyline and fulfil a notably challenging side quest. Following the achievement of this quest, the player gains the capacity to locate and enter the Depulso Puzzle Rooms 1 & 2, which are concealed within the castle.
Hogwarts Legacy is filled with challenges, yet none are as back-breaking as those found within the Depulso Puzzle Rooms. Tackling these puzzles demands players to change the arrangement of various cubes, casting a way forward. Although this may appear straightforward, discovering each cube’s positioning is quite challenging.
Those who possess the courage to engage with these daunting Puzzle Rooms may lose themselves if they fail to remain attentive. To make matters worse, incorrectly positioning a cube can sometimes block the puzzle’s solution, compelling players to begin the entire process again.
How can I access the Depulso puzzle rooms?
To gain entry within the Depulso Puzzle Rooms, players must first complete the main quest, “The Helm of Urtkot”, and finish the side quest “, The Hall of Herodiana.” Access to “The Helm of Urtkot” quest opens up after successfully completing Percival Rackham’s Trial. After its completion, players can initiate the “The Hall of Herodiana” side quest by conversing with Sophronia Franklin, positioned next to the Charms Class Floo Flame.
It will offer players a glimpse of the types of challenges involved in conquering the Depulso Puzzle Rooms.
After finishing the side quest, players will gain access to the Depulso Puzzle Rooms 1 & 2, where they can enter by using the Depulso spell on the stone tablets that are obstructing the entrance.
Depulso Puzzle Room 1 – Location
To locate Depulso Puzzle Room 1, gamers should swiftly journey to the Potions Classroom within The Library Annex. Following this, they should advance through the door directly ahead, take a left turn, and proceed towards the stairs. This will lead them to a door secured with a Level 1 Lock. Beyond this door lies the entrance to Depulso Puzzle Room 1.
Beyond the door, the player must advance through the archway and move towards the right-hand wall. By utilizing Depulso on the stone tablet in this location, the wall will open, allowing the player to enter Depulso Puzzle Room 1.
Depulso Puzzle Room 1 – Solution
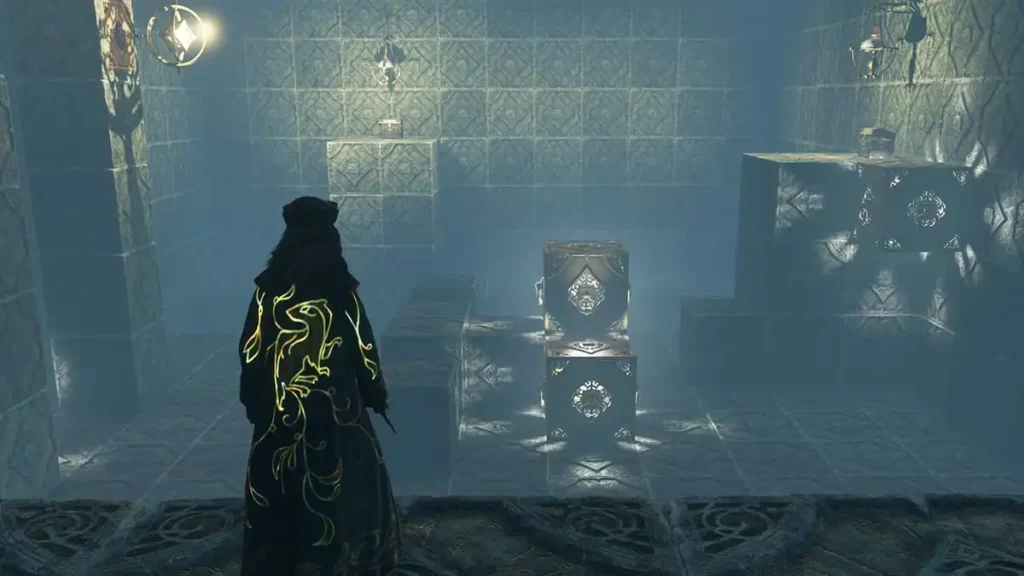
To proceed towards the Depulso Puzzle Room 1, participants must have to solve three distinct puzzles. These challenges entail using Accio and Depulso spells to move blocks, thus forming a path to access the chests distributed across the room.
It is effortless to become disoriented while moving these blocks. If players sense a mistake, they can restore the room by using magic at the golden orb above.
Depulso Puzzle Room 1 – First Puzzle Solving
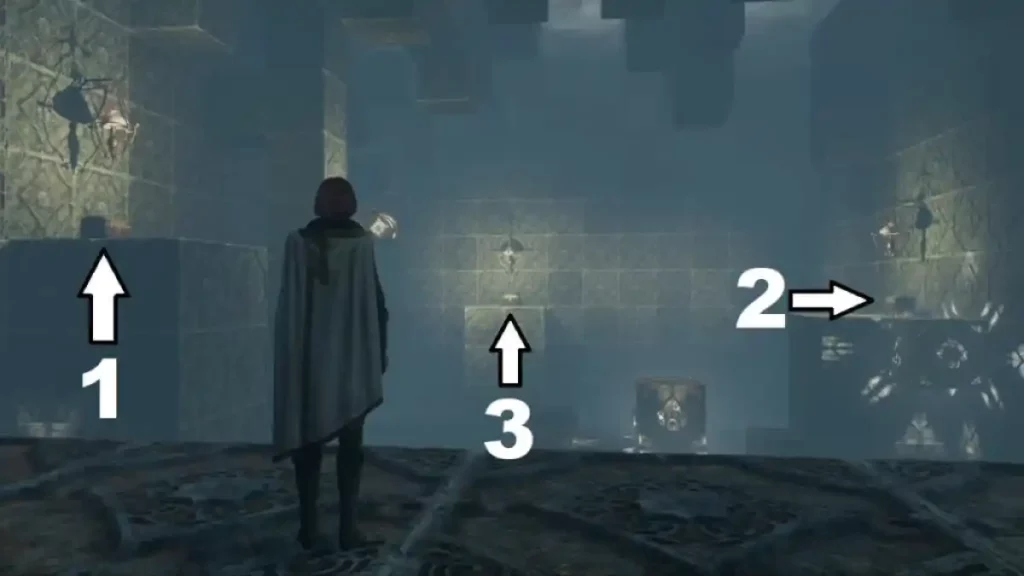
Upon initial entry into Depulso Puzzle Room 1, players must advance down the central corridor to access the first puzzle. To acquire the initial chest in this room, one should cast the Accio spell on the floating block positioned to the right, dragging it towards the west.
Afterwards, the player must leap to the lower floor and advance towards the pair of blocks positioned at the room’s centre from the left side. Utilize the “Depulso” spell to push these blocks towards the south. Escalate these two blocks to access the higher chest.
Depulso Puzzle Room 1 – Second Puzzle Solving
To access the second chest within this room, players need to interact with the golden orb positioned above. It will reset the placements of the blocks they moved earlier.
Subsequently, they should descend to the lower level and employ the Accio spell on the floating block situated to the south to move it towards the north.
Accio should only be utilized on the very block to drag it towards the west. After that, Depulso must be employed to move the block towards the north and Accio for moving it towards the east.
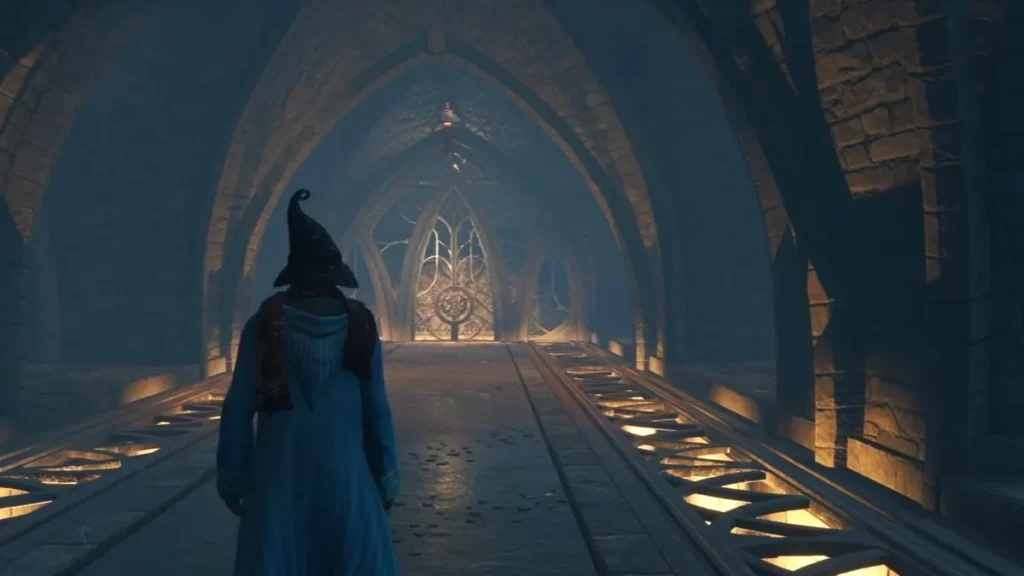
Accio will be employed on the floating block to move it towards the western direction. This block will join with the block which is just below it, making the player utilize Depulso to move both of them towards north.
Participants must employ Accio on those connected blocks to drag them towards the east.
After completion, the blocks can ascend to the second chest within the chamber.
Depulso Puzzle Room 1 – Third Puzzle Solving
Participants will have to restore the room again to hit the third chest. For creating its pathway, one must employ Depulso at the west block to move it towards the north. The cube should be linked to its closest cubes by utilizing Accio, which will link all three of them together.
All three then be dragged towards the south using Accio and towards the east using Depulso.
When they get positioned, participants must utilize Depulso on the pair of blocks at the room’s centre to move them towards the east.
All three linked blocks are then dragged to the room’s centre using Accio and Depulso on the pair of east blocks to proceed towards the north.
All those three linked blocks positioned at the room’s centre will then be dragged towards the east by utilizing Depulso. Subsequently, they will be carried towards the north with the help of Depulso again.
To access the third treasure, participants should ascend towards a dark block near the edge, leap on the three linked blocks and ascend on the pillar’s peak. After opening all three chests, participants can return to the entrance and locate a new chest that will accommodate a decorative item for using it in the Requirement’s Room.
Depulso Puzzle Room 2 – Location
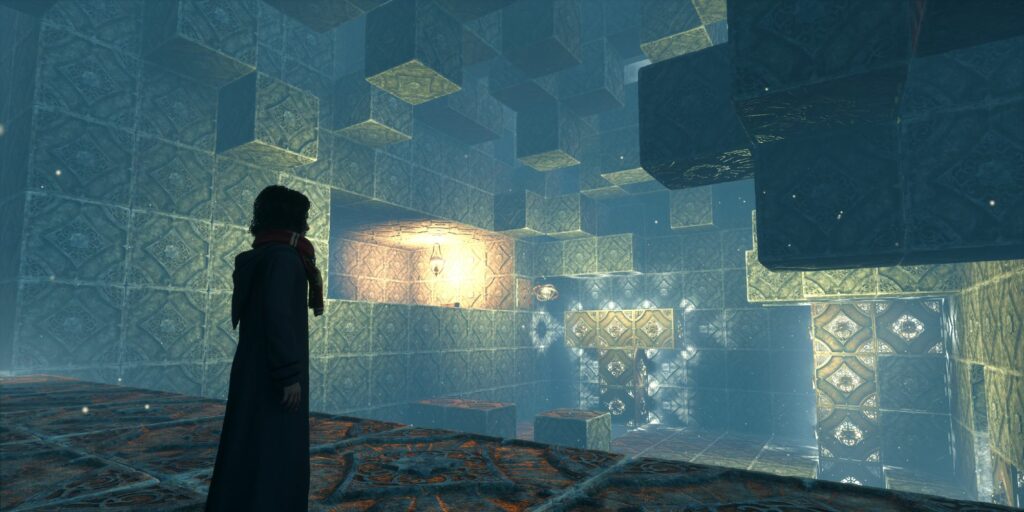
In order to locate Depulso Puzzle Room 2, gamers should swiftly travel towards the Bell Tower Courtyard within The Bell Tower Wing. After reaching there, climb the left stairs and reach the door ahead. Enter the classroom positioned at the closing of the hallway and reach the door having a Level 1 lock.
After unlocking the door, you can locate the Depulso Puzzle Room 2 entrance inside the area’s back on the right side. To open the wall of a stone tablet, gamers have to utilize Depulso, allowing gamers access to the Depulso Puzzle Room 2.
Depulso Puzzle Room 2 – Solution
Just like Room 1, gamers must proceed towards the puzzle through the hallway. They will be able to locate themselves in a chamber filled entirely with movable blocks, which have to be moved around to access the chest that is scattered throughout the chamber.
Depulso Puzzle Room 2 – First Puzzle Solving
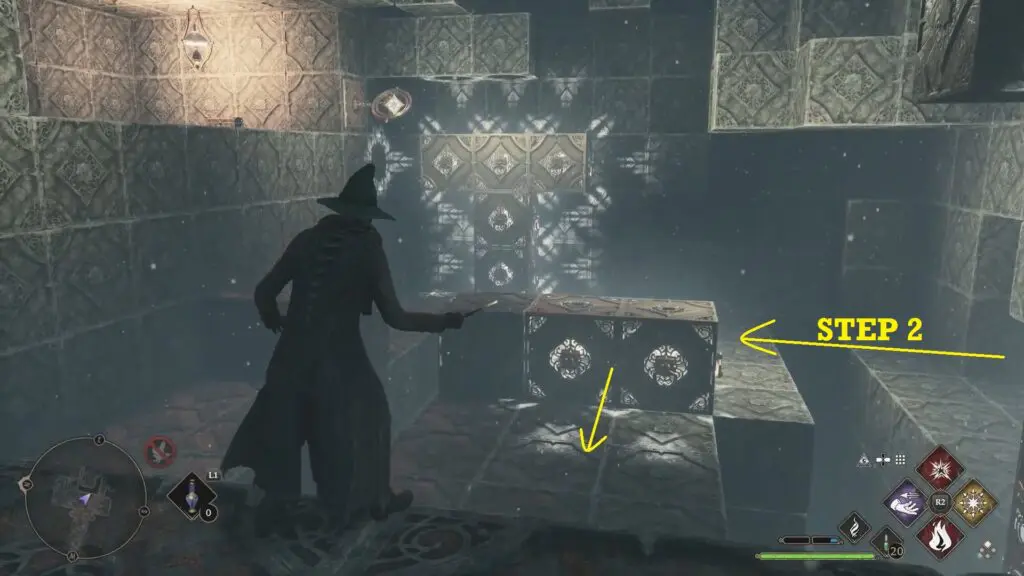
On the T-shaped block, participants must employ Accio to drag it towards the west. They should go to the ground level to access the block, which is north of the T-shaped block, for dragging it in the eastern direction with the help of Accio.
Room’s southern blocks must be escorted north by employing Accio and, after that, must be sent towards the east by employing Depulso.
The blocks must then be escorted north by employing Depulso, through which they can be linked with the floating block around the corner.
Depulso Puzzle Room 2 – Second Puzzle Solving
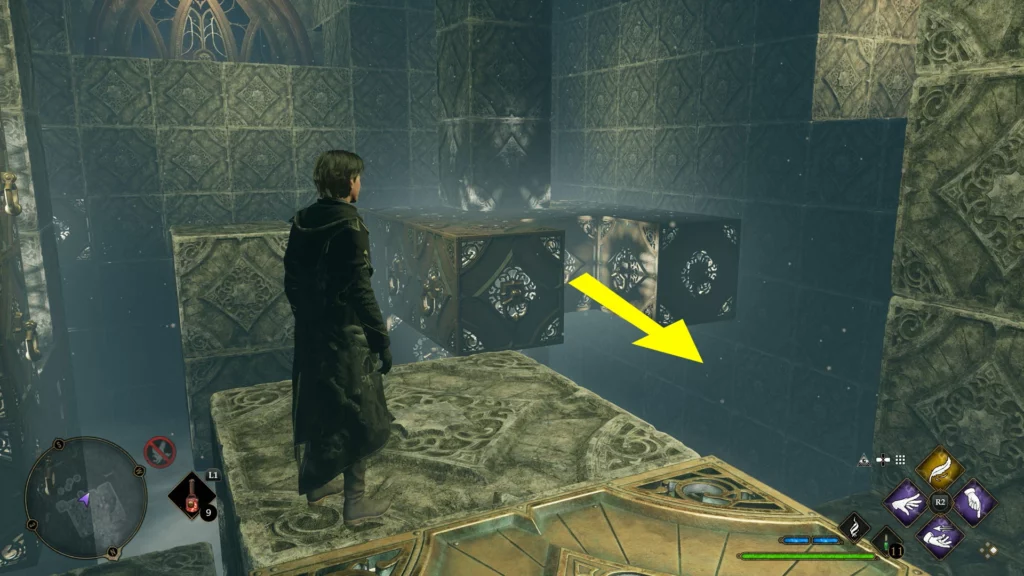
After opening the chest, on the T-shaped block, participants must employ Accio to move it towards the west.
The floating block nearby the T-shaped block must then be sent north by utilizing Accio. For moving this block towards the east, gamers must utilize Accio again.
After the proceeds of the floating block, gamers should employ Accio on the block positioned after the T-shaped block to move it towards the east. After it reaches the room’s opposite side, participants will be able to see that there is a second block connected with it.
The pair of blocks must be sent north, allowing them to get linked with the floating block.
In the middle of the room, the pair of southern blocks must be sent north with Accio, and for escorting them towards the east – Accio will have to be utilized again.
Blocks will be escorted north to allow them to get linked with the three connected blocks around the corner.
All these five blocks will then be moved towards the west by utilizing Accio, and for escorting them towards the south – Accio will have to be utilized again.
The T-shaped block will then be sent to the south by employing Accio and then towards the east, allowing them to get linked with those five linked blocks.
Gamers can now ascend the strange structure by leaping the gap on the left side and clambering towards the right block. After reaching the peak, participants can resume through the doors ahead of them to commence the next puzzle.
Depulso Puzzle Room 2 – Third Puzzle Solving
After reaching the room of the final puzzle, participants should go to the ground level and utilize Depulso over the three assembled blocks positioned in the middle to move them towards the south.
Employ Accio on the assembled floating blocks at the right to send them towards north.
Participants must ascend on the H-shaped block, proceed towards the south and employ Accio over the three assembled blocks to drag them towards the west.
Gamers can then leap the H-shaped block over the three assembled blocks to locate the first chest within the chamber.
Depulso Puzzle Room 2 – Fourth Puzzle Solving
Participants should leap back to the H-shaped block and utilize Depulso over the three assembled blocks to drag them towards the southeast direction of the chamber.
One should use Accio to send the blocks to the southeast corner north. To bring all these blocks towards the west, Accio will have to be utilized again.
Those four linked blocks at the room’s entrance must be escorted east by employing Depulso. After that, all four blocks will be sent south by employing Accio.
One should employ Accio on the three assembled blocks at the south-west to escort them towards the east and link them with those four blocks that were just positioned.
All these blocks will then be escorted towards the north by employing Accio, allowing gamers to climb them in order to access the second chest within the chamber.
By employing Depulso, the cubes can be dragged back to the room’s southern corner. Gamers then have to ascend towards the peak of the H-shaped block and utilize Accio over those blocks to drag them towards the west.
After they get positioned, gamers can leap to the floating black block from the H-shaped block and, after that, leap over those blocks that will lead them to those recently positioned blocks.
After ascending towards the south wall, gamers will locate a chest that will accommodate a decorative item for using it in the Requirement’s Room. For exit, they can connect with the hallway’s last door.
Depulso Puzzle Room 1 & 2 – Any Rewards For Completion
In Depulso Puzzle Rooms 1 & 2, if participants can open every chest, they will receive Gear items and some decorative items for using it in the Requirement Room.
Gamers who are expecting a lot will be disappointed after learning that apart from the rewards mentioned above, nothing else will be rewarded. It is a shame because the entire procedure of acquiring the chest is very challenging.
FAQs
How to gain access to Depulso Puzzle Rooms 1 & 2?
To gain access to the Depulso Puzzle Rooms, players must first complete the main quest, “The Helm of Urtkot”, and finish the side quest “, The Hall of Herodiana.” Access to “The Helm of Urtkot” quest opens up after successfully completing Percival Rackham’s Trial. After its completion, players can initiate the “The Hall of Herodiana” side quest by conversing with Sophronia Franklin, positioned next to the Charms Class Floo Flame.
It will offer players a glimpse of the types of challenges involved in conquering the Depulso Puzzle Rooms. After finishing the side quest, players will gain access to the Depulso Puzzle Rooms 1 & 2, where they can enter by using the Depulso spell on the stone tablets that are obstructing the entrance.
How to reset the Depulso puzzle room?
Firstly, you must hit the spinning cube with a Basic Cast to return all the blocks to their original places. If you make a mistake, you can quickly reset the room using this feature.
How many chests are there in Depulso Room 2?
To complete the Depulso puzzle room 2 you must make it through 2 rooms. The puzzle has 3 chests and 1 collection chest.


